
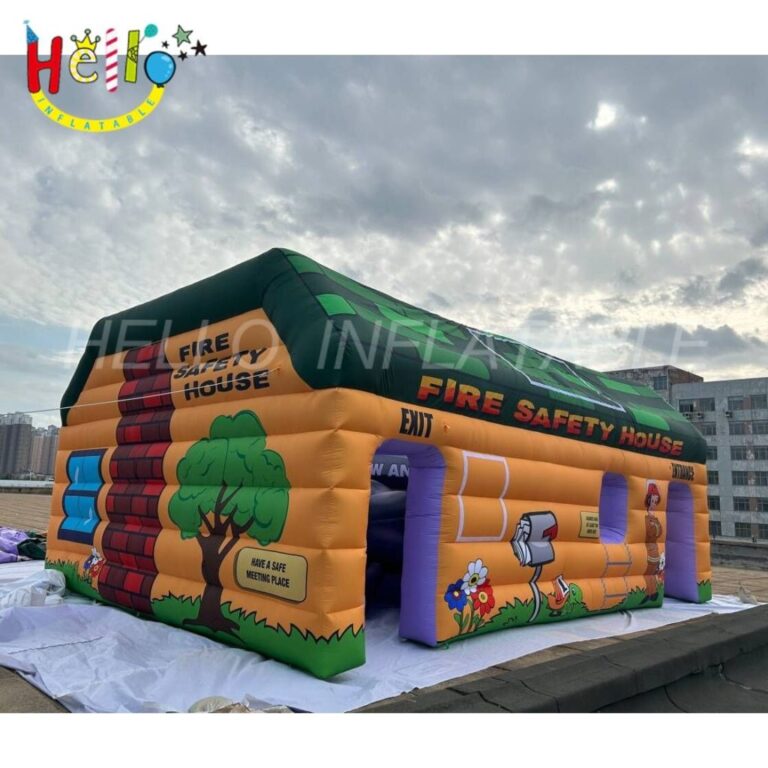
In a busy trade show or festival, an event shelter serves two main purposes. It shields the team and helps people spot the brand quickly. A custom inflatable event tent achieves this when the shape, size, graphics, build, and setup match the location. Picking one just for looks might cause issues like blocked views, poor securing, hard moves, or a setup that fails during the event.
Begin with the event plan rather than a product list. Decide where the tent goes, what visitors will do inside, how often it travels, and who sets it up. These details show whether an open advertising canopy, a private inflatable cube tent, or a larger structure works best. The checklist below turns the answers into a clear brief for any supplier.
What Must a Custom Inflatable Event Tent Do at Your Event?
Match the Structure to the Visitor Journey
For a trade show, focus on an open entrance, clear product views, and space for demos or quick talks. At a festival, strong visibility from many angles, shade, fast service, and a visible line matter more. A brand activation may need controlled entry, a photo spot, a sampling counter, lighting, or a closed reveal area. Map the path, the interaction, and the exit before locking in the tent shape.
Set the Footprint, Height, and Capacity
Check the organizer rules on booth size, height limits, safety gaps, approved anchors, and setup times. Then plan the inside space around people, counters, screens, stock, cables, and exit routes. Avoid filling every inch of the plot. Inflation gear, ropes, sandbags, and walking space also need room.
Which Tent Shape Fits the Activation?
Open Inflatable Advertising Tent
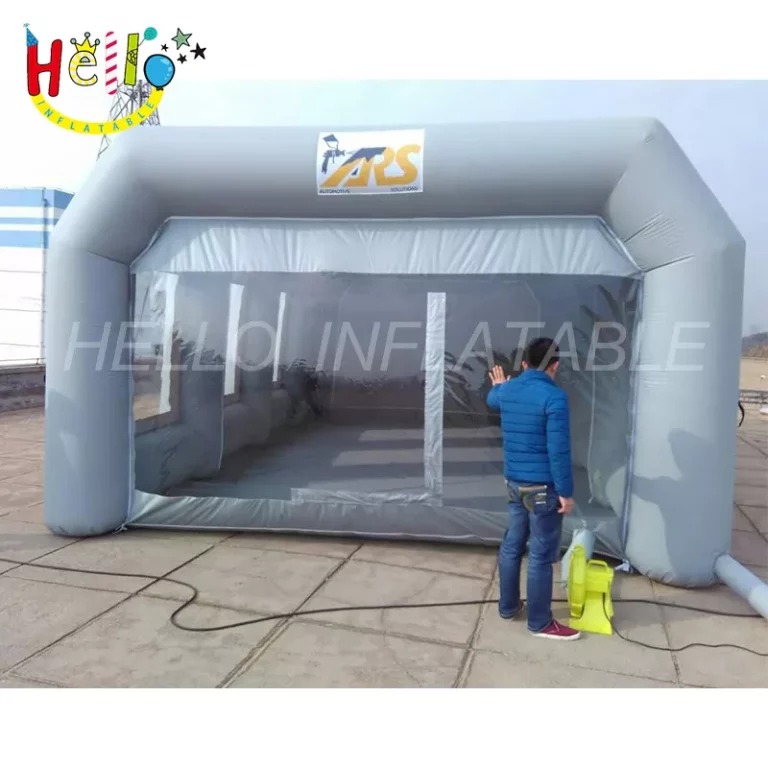
An inflatable advertising tent with an open front or several open sides suits sampling, registration, merchandise sales, sponsor hospitality, and outdoor promotions. Curved legs and a high roof give a clear shape. Removable walls can add weather cover or campaign graphics. Pick this style when easy access and steady visitor flow come first.
Inflatable Cube Tent for an Immersive Space
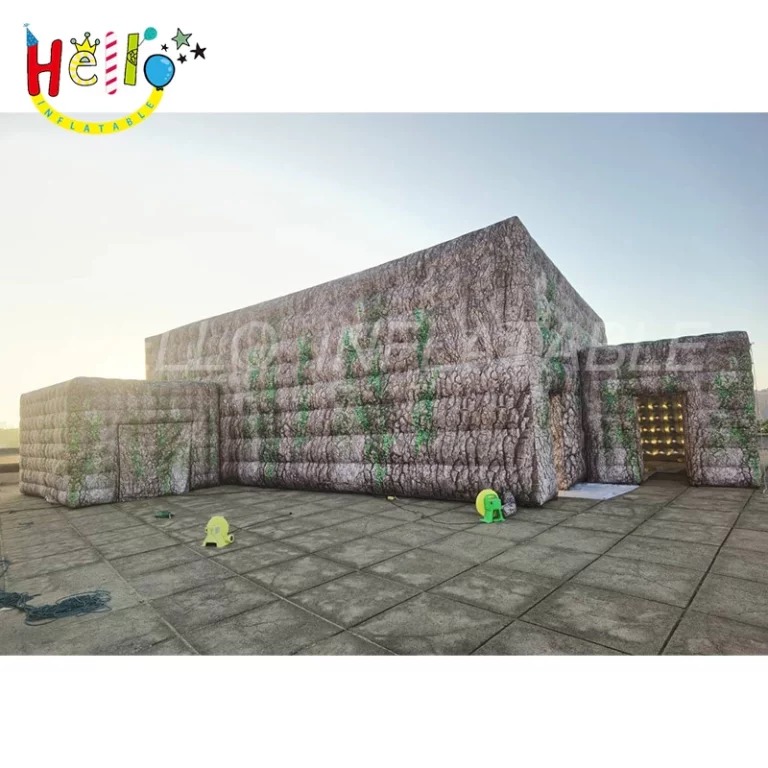
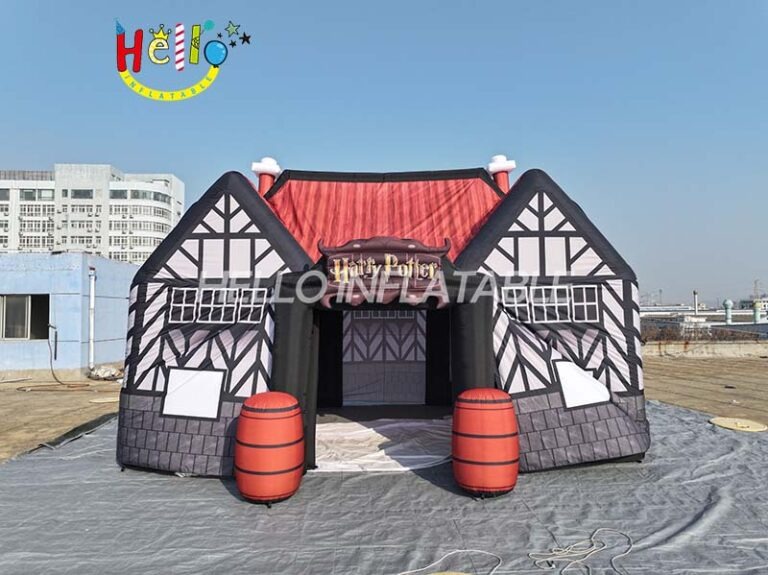
An inflatable cube tent gives straighter walls and a more closed interior. It works well for projections, private meetings, VIP areas, product launches, photo booths, and sound-controlled experiences. Check how doors, windows, airflow, lighting, and gear access will fit. The cube must work as a room, not just look like one.
Custom-Shaped and Large-Format Structures
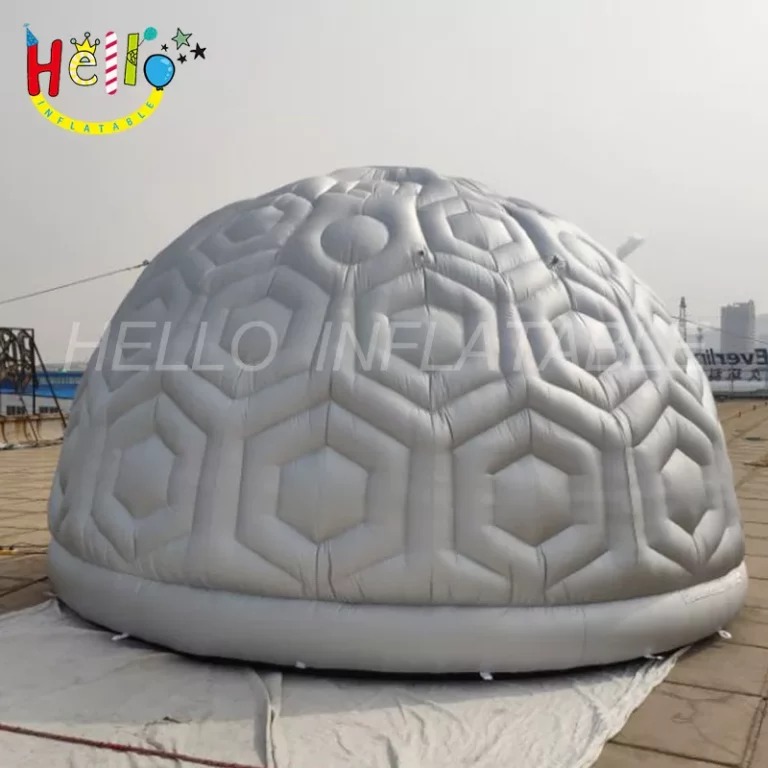
A dome, tunnel, themed building, or sculptural tent can become the main landmark. These shapes work best when the form supports the product story and the site can handle power, anchors, setup time, and crowd control. For touring events, weigh visual impact against packed size and repeated assembly.
How Should Materials, Seams, and Inflation Be Evaluated?
Select Fabric for the Use Environment
Event tents often use PVC Oxford fabric, PVC tarpaulin, or rip-stop nylon. The choice depends on size, finish, weather exposure, and weight. Ask the supplier to match the material to your exact needs and explain water resistance, UV performance, fire ratings, cleaning, and repair options. Indoor shows and multi-day outdoor festivals place different demands on the fabric.
Inspect Construction and Reinforcement
Look past fabric weight. Key points include reinforced stress areas, smooth panel joins, strong zippers, solid tie-downs, easy valves, and even stitching. At HELLO INFLATABLE, our process uses precise sewing, two to four high-strength bonded thread lines where needed, skilled staff, and full quality checks. This produces stable shapes with fewer wrinkles.
Choose Continuous Air or Sealed Air
A continuous-air structure runs a blower the whole time. It supports large or complex shapes but needs steady power and cable planning. A sealed-air structure is pumped once and then left alone. It cuts noise and power needs but requires tight seams and regular pressure checks. Confirm blower voltage and plug type for the event site. Both 110–120V and 220–240V options may be needed.
How Can an Inflatable Advertising Tent Carry the Brand?
Design for Long- and Short-Range Viewing
From a distance, visitors notice the outline, color blocks, and short message. Up close, they can read benefits, QR codes, and calls to action. Keep the logo clear on the roofline or upper walls. Place the main message at the entrance. Avoid covering every surface with small text. Request a scaled 3D view of each angle before production starts.
Specify Color and Print Durability
Ask how brand colors will be matched and how gradients, photos, and fine details will print on the fabric. At HELLO INFLATABLE, we move from high-resolution prints on transfer paper to heat-sublimation and automated cutting. The ink soaks into the fibers. This gives sharp detail and better resistance to cracking, peeling, wear, and outdoor fading than surface prints.
Plan Replaceable Campaign Elements
If you plan to use the tent for several campaigns, then walls, banners, awnings, and other graphic panels that can be detached from the tent’s walls can be added to the tent’s core design. A reusable core with graphics that can be changed from one activation to another can be cost-effective, as long as the core is used enough. The attachment points for these added panels should be confirmed during the design process. The panels must be attached in a way that they are pulled tight against the core and do not interfere with exits and airflow around the tent.
What Safety, Setup, and Logistics Questions Should You Ask?
Verify Documentation and Site Rules
Request the certificates and test reports that venues or markets require. Some examples are SGS, EN71, EN14960, TUV, or even fire ratings. Follow organizer rules. Request wind limits, anchoring, evacuation procedures, and weather stoppage procedures.
Run a Complete Setup Test
Before the first public event, run a timed trial with the actual crew. Test the blower, valves, cables, walls, ropes, stakes or sandbags, lighting, repair kit, and storage bag. Confirm the packed unit fits the vehicle and passes through loading doors. Photograph the finished setup and label every part so later teams can repeat it.
Compare Total Cost, Not Only Unit Price
Review design changes, print coverage, included accessories, packaging, freight, duties, setup labor, storage, repairs, and replacement graphics. A well-built tent used across a roadshow often costs less per event than a cheaper unit that needs frequent fixes. At HELLO INFLATABLE, each project includes design, production, accessories, and remote setup guidance so buyers see the full package.
FAQ
Q: How long does a custom inflatable event tent take to set up?
A: Setup time depends on size, shape, inflation system, walls, and anchoring. Many event tents inflate in minutes, yet full safe installation also covers positioning, ballast or stakes, cable protection, accessories, and a final check. Ask the supplier for a timed setup based on the final design.
Q: Is a custom inflatable event tent suitable for outdoor festivals?
A: Yes, when the material, reinforcement, blower, anchoring, and operating limits suit outdoor use. Follow the venue rules and watch the weather during the event. Deflate and remove the tent when conditions exceed the stated limits.
Q: What is the difference between an inflatable advertising tent and an inflatable cube tent?
A: An inflatable advertising tent is usually more open and built for visibility, shade, sampling, or visitor flow. An inflatable cube tent gives straighter walls and a more enclosed room for meetings, projection, private experiences, or product reveals. The right choice follows the activity planned inside the space.
Q: What should be included with a custom inflatable event tent?
A: A complete package usually includes the inflatable structure, suitable blower or pump, matched plug, ropes, stakes or sandbags, repair materials, storage bag, setup instructions, and any ordered walls or lighting.